Scroll Top

LED Profile Installation Guide

LED Profile Installation Guide


There is potential danger of electrical shock when operating electrical components.

Make sure power is turned off before installation
Do not install in a sealed environment – allow for heat dissipation and adequate ventilation
Install Aluminium LED Profile in properly rated environment
Aluminium LED Profile stock length is 1.8 mNote: Aluminium LED Profile is rated IP20; it is recommended to remove lens cover for cleaning on a scheduled basis
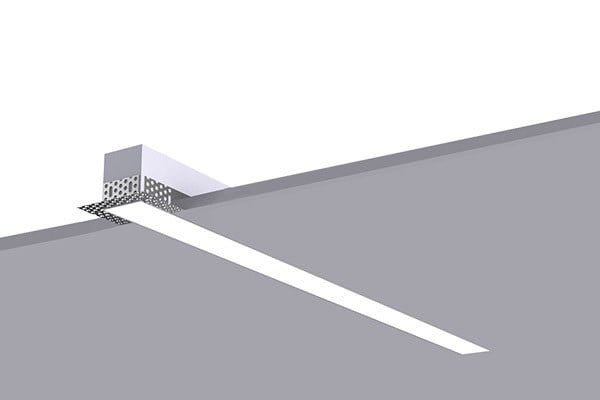
LED Profile

Terminations

Factory Termination
Aluminium LED Profile is assembled and does not require any mechanical work. Connect lighting as per LED Ribbon wiring diagrams.

Field Termination
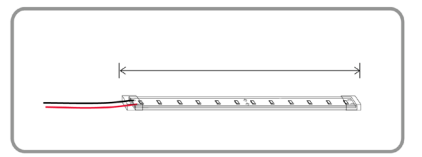
1. Lay out and measure the length of the LED Ribbon
pic 2 b617d2c9 b75b 4c8a bece 49d0136903ef

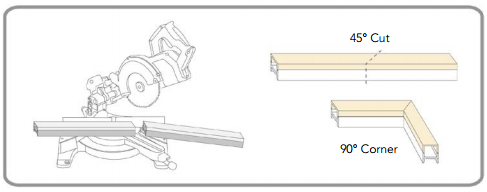
2. Cut Aluminium Track and Lens with mitre saw to suit LED Ribbon length – add 6 mm extra length for end cap. Miter joints at 45° can allow the track to take 90° corner turns
Tip: Cut the track and lens in place for a flush edge
pic 3 129d45ef 278e 4f5d 8db1 469c44e04b3a

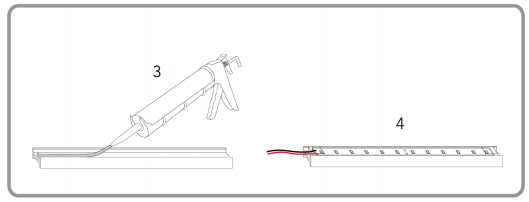
3. Apply silicone adhesive on to track

4. Place LED Ribbon light on the flat surface in the channel

5. Use masking tape to fasten LED Ribbon in place while adhesive cures

6. Allow adhesive minimum of 24 hours to dry; it takes 7 days to fully cure
Tip: Align multiple aluminium tracks end to end to connect pieces longer than stock length
pic 4

7. Fit the lens onto the aluminium track

8. If a hole doesn’t already exist, drill one through an end cap to allow LED lighting lead wires to pull through

9. Fit end caps onto the finished profile

pic 5 f4653c74 cc02 4295 b06d a325fa3f0a9a

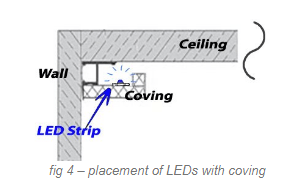
If you are fitting/moulding your own coving, you can choose how far down from the ceiling you want it. Once your coving is in place, a good tip for positioning your LED tape is to fix it as far from the back wall as you can, so as to avoid seeing visible light-dotting. (Try to fit it at least 50mm from the wall.)

pic 5

Mounting

Mounting Clip

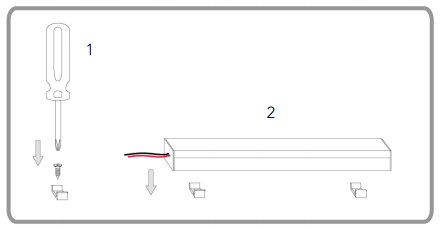
1. Mount track clips onto surface with flathead screw

2. Snap on Aluminium LED Profile to clips
pic 6 7bb832dd a0e2 4209 85cc 8ab89d0f6cbf
Please note that these instructions are guidelines only and in no way supersede any construction or installation standards.
Local building and electrical codes should be consulted before installation.

كيفية توصيل القواطع الكهربائية المنزلية

lightning
We are pleased to have you visit our pages on social networking sites, where we publish exclusive offers on our website.

 Facebook page here.

Twitter account is here.

Related Posts

Privacy Preferences
When you visit our website, it may store information through your browser from specific services, usually in form of cookies. Here you can change your privacy preferences. Please note that blocking some types of cookies may impact your experience on our website and the services we offer.